How to install the Facebook Pixel?
Facebook pixel, or nowadays called meta pixel, is a piece of code that is inserted into the page code.
Using a pixel provides great opportunities for analytics and optimization of advertising campaigns in general. Here are the main ones:
- Activity tracking – in other words the analysis of customer activities outside of Facebook itself. Due to the pixell, you can get information about whether the client registered, what he looked at, whether he added the product to the cart, and much more.
- It can be used for remarketing. Meaning, launching a campaign for an audience that showed their interest, followed a link, but for some reason did not make a purchase. Statistics showing that this target audience performs much more targeted actions.
- The possibility of using the advertising goal "conversion". The pixel remembers the profile of the person who took the target action, compares its main parameters, and then Facebook searches its database for similar users in order to show ads to exactly the audience that is more likely to take the target action.
The pixel integration process is shown step by step in our video.
Also, with the help of the pixel, Publisher sees conversions for advertising campaigns in Facebook statistics and can calculate the profit right there, as well as compare its data with the one of the affiliate program to check whether it is being scum.
Creating a pixel
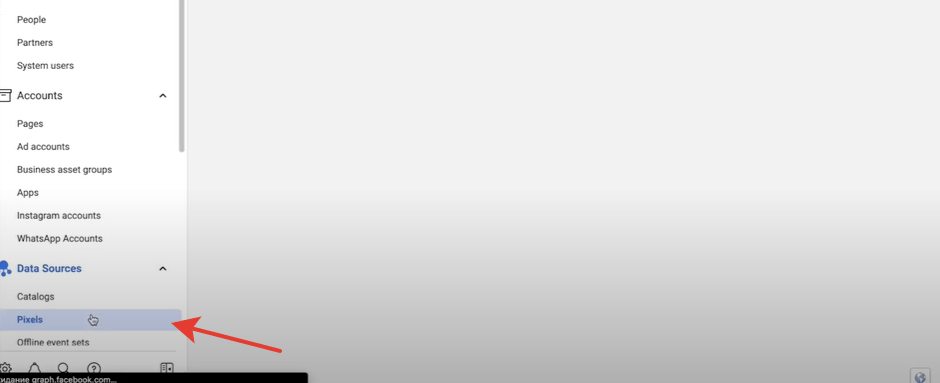
Let's create a pixel. To do this, in the advertising account, open the “Data Sources” menu, click on “Pixels”, select “Add”.
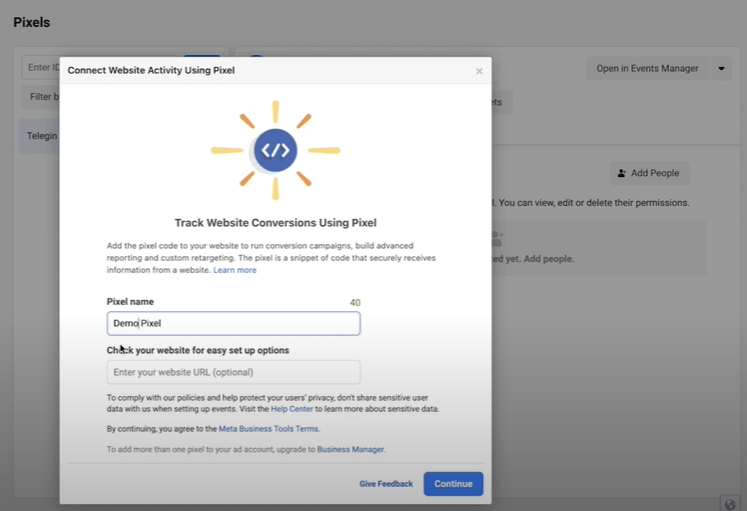
We give a name to our pixel, click “Continue”.
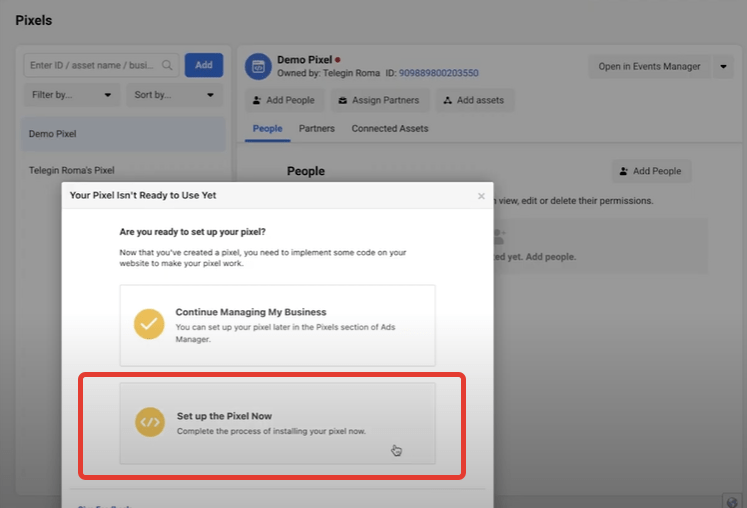
Next, select “Set up the pixel now”.
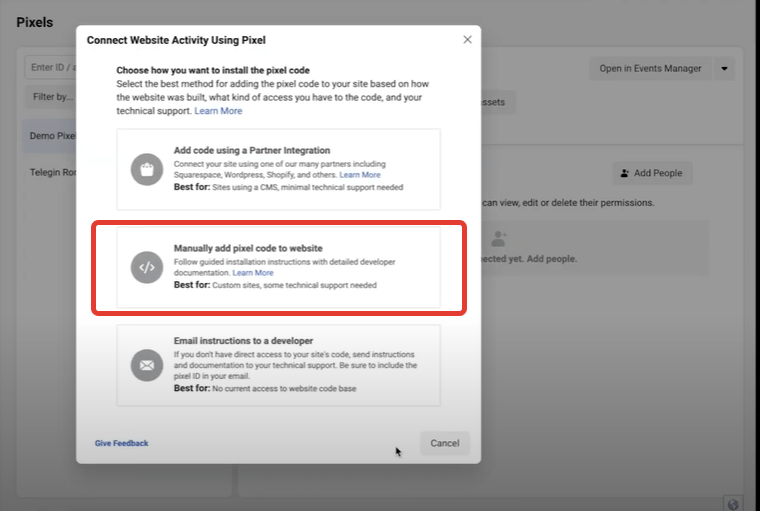
Then, “Manually add pixel code to website”.
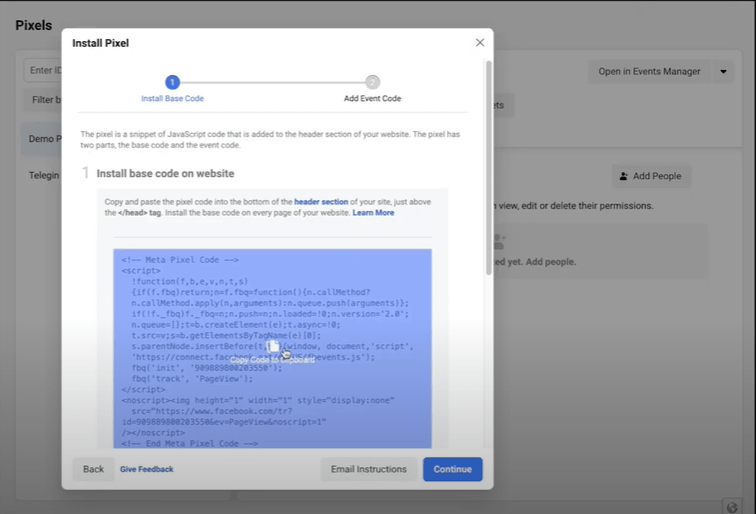
In the next window, copy the code itself, there is also an opportunity to test its work. Click "Continue". All is ready.
Tracking link
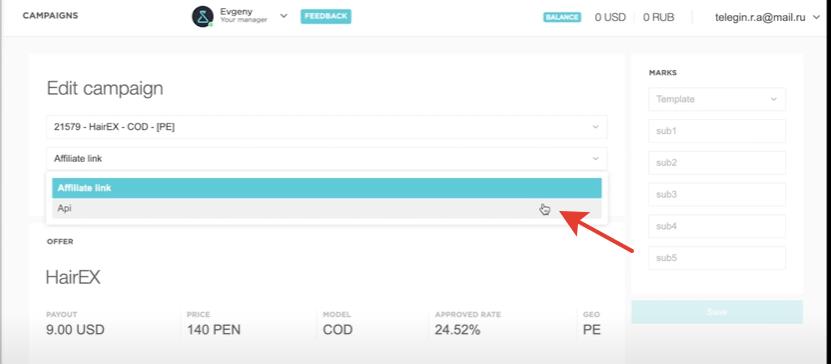
Next, we are going to the dr.cash dashboard, open a campaign, and here we have 2 options for pixel integration. We click on a Affiliate link.

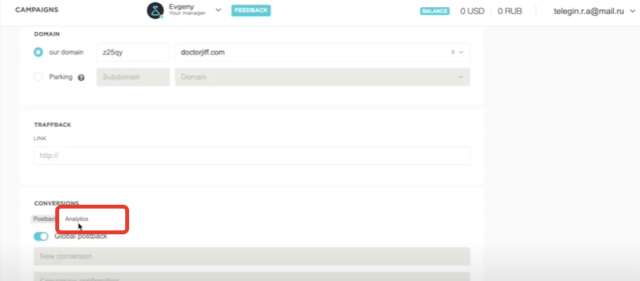
If we use a tracking link, then we go down the page and in the “Analytics” tab in the “Thank You Page” field we paste the code. In this case, everything is ready, nothing else is needed.
Next, save the changes and add a link to the advertising platform. An affiliate link is used when we are working with sources where we don’t have such strict moderation.
Via API
If we plan to cloak and undergo strict moderation, in this case we will work according to the API. Select this option from the menu and click “Save”.
Go to our campaign again. The pixel will need to be installed manually in the landing archive. Download the PHP version.
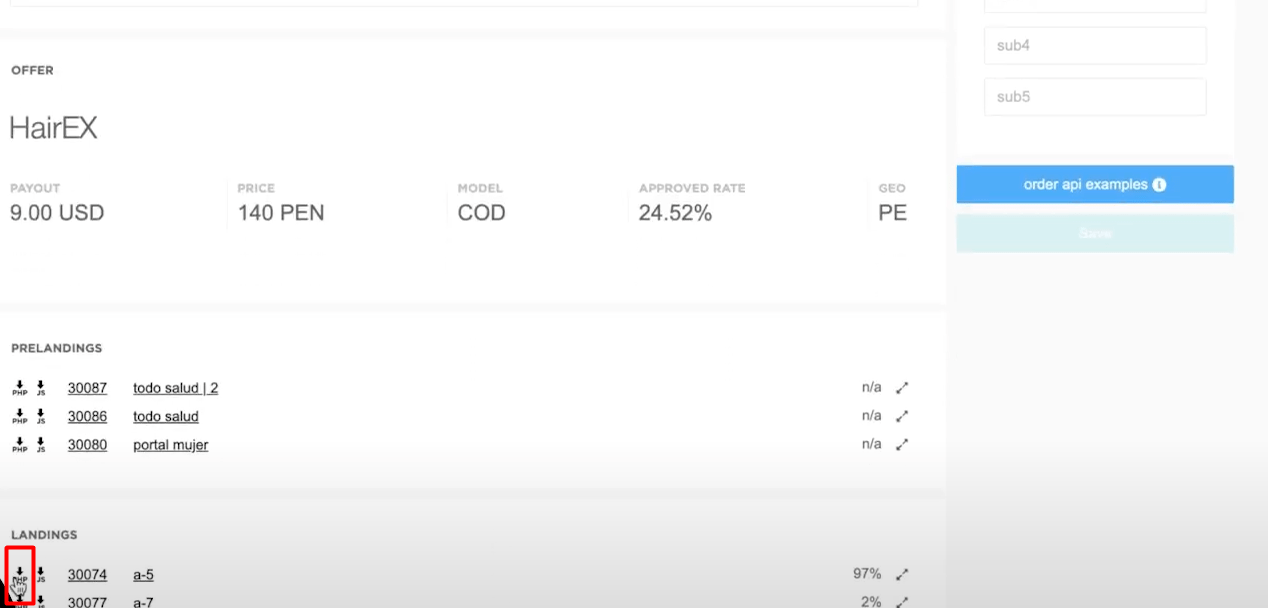
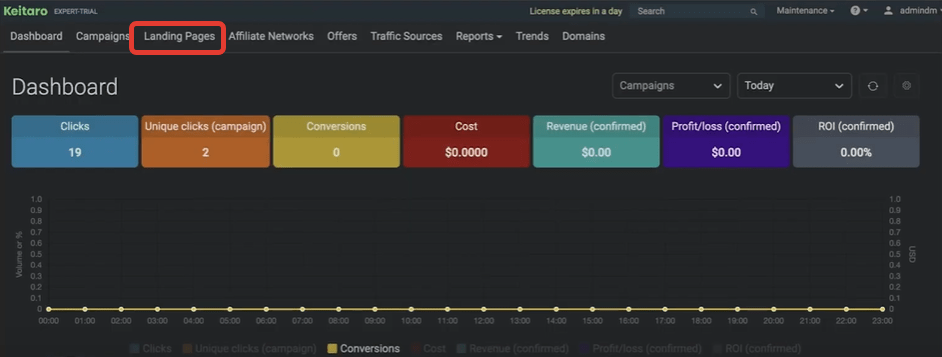
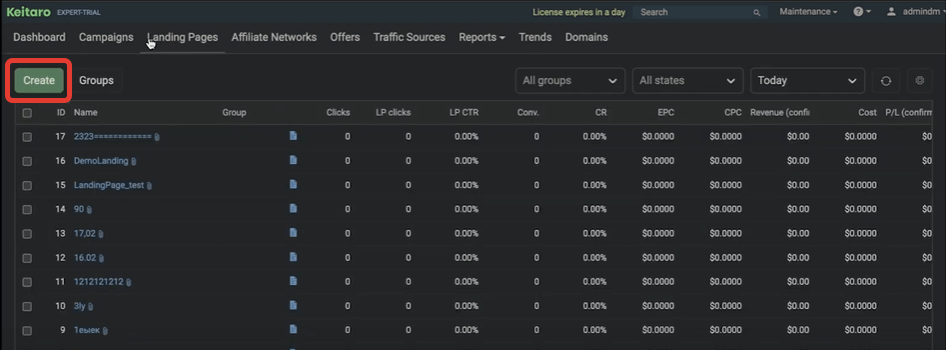
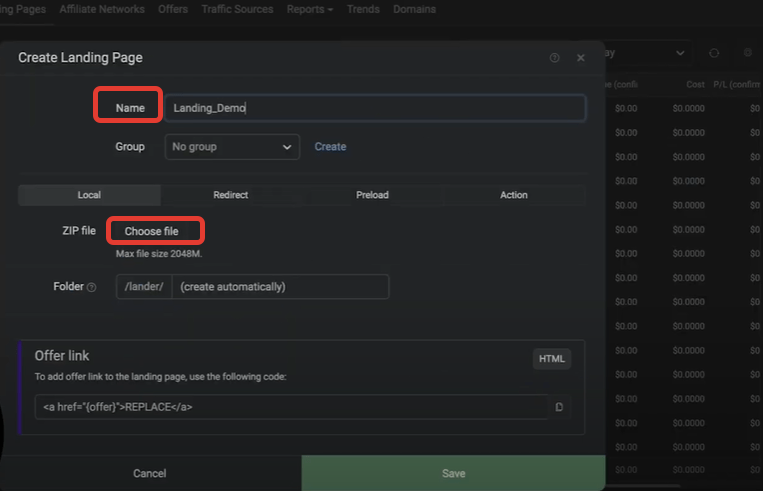
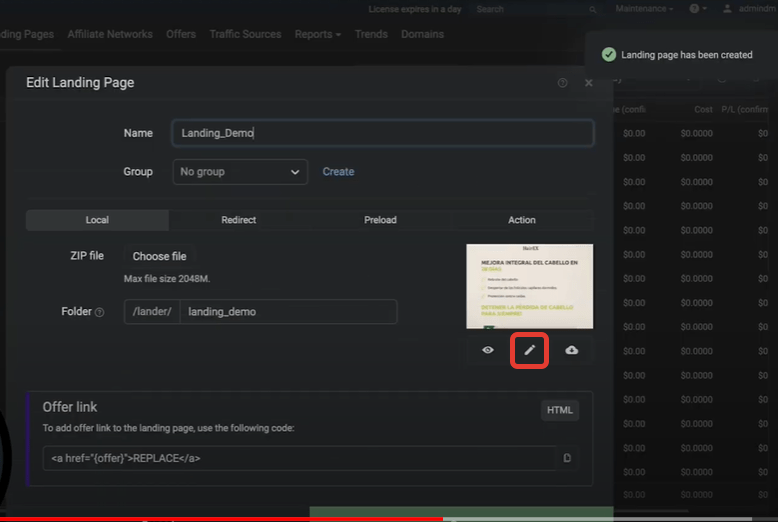
After downloading, we go to our hosting, in our case it is the Keitaro tracker and upload our archive.
Click the “Edit” button and get into the landing page code.
The index.php file will open automatically. Add the following line at the very beginning of the page:
<?php setcookie("FBpixel", $_GET["pixel"], time()+60*60*24); ?>

Next, press ctrl + f or cmnd + f, depending on the OS we use and find the form: <form

Then, write the input for the pixel under the line:
<input type="hidden" name="sub1" value="{subid}">
<input type="hidden" name="pixel" value="<?= $_GET['pixel'] ?>" />

Next, (on the screen: in the text “Fields to send”) we delete part of this line:
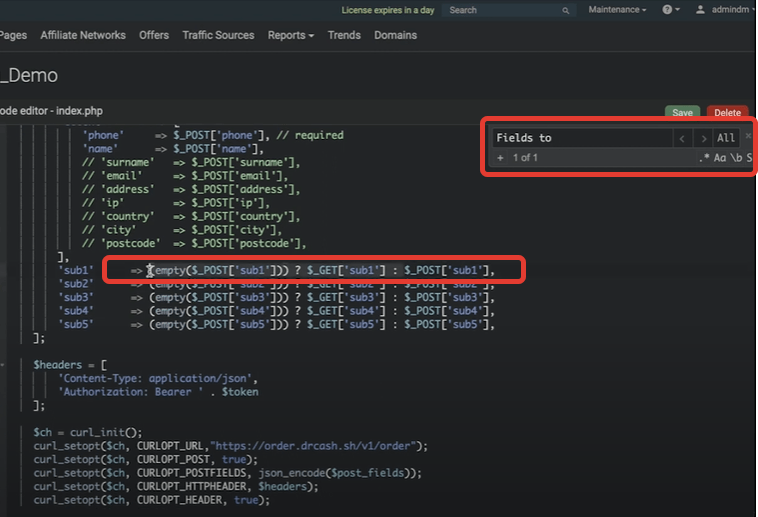
Then: 'sub1' => (empty($_POST['sub1'])) ? $_GET['sub1'] : $_POST['sub1'],
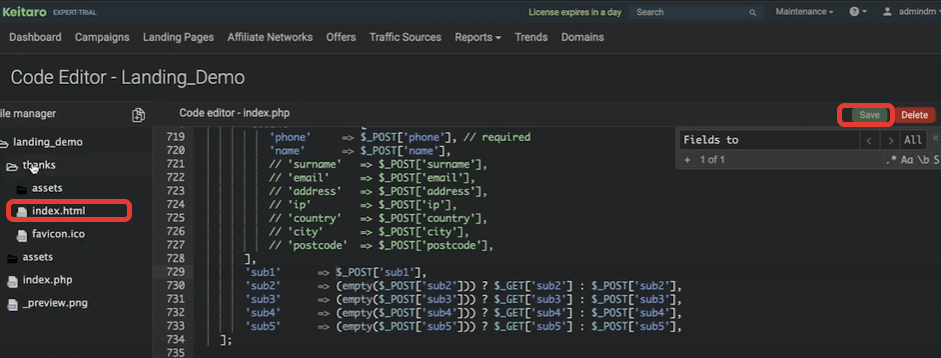
Now: 'sub1' => $_POST['sub1'],
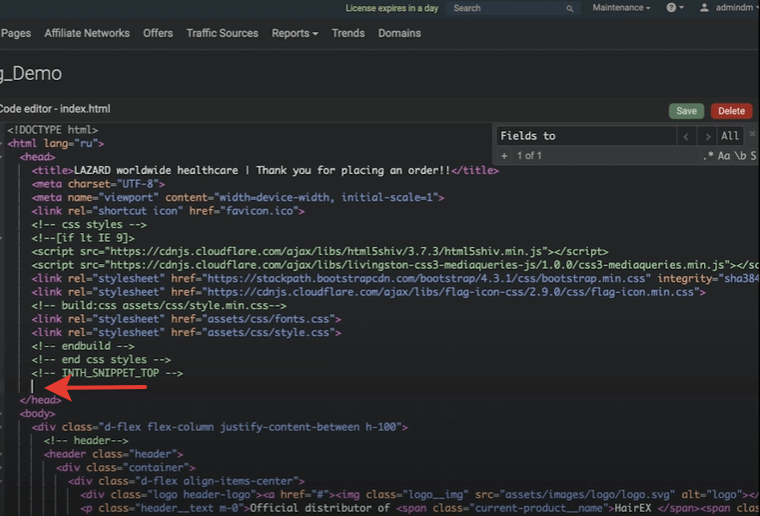
Save it. After that, we open the Index.html of our “Thank you” page.
Put the pixel before the closing HEAD.
<img height="1" width="1" style="display:none" src="https://www.facebook.com/tr?id=<?=$_GET['pixel']?>&ev=Lead&noscript=1"/>
Please note that we don’t use the code from FB, but a so-called special feature of media buyers. This code in dynamic mode allows us to get the pixel number from the additional link parameter pixel=, where we will indicate the number when we are creating the ad. Thus, we can receive different pixel numbers regardless of the number of accounts with which launches to the one landing are associated. Save the changes and start creating the campaign.
It is important to know that in both cases it is necessary to install the pixel on the thank you page. This is due to the fact that by installing the pixel on the main landing page, we will allow Facebook to index our, usually not the whitest landing page, which will lead to the ban of the advertising campaign, and even more likely - the FB account as a whole!
At first glance, everything may seem too complicated and scary, but do all the steps a couple of times and your fears will disappear. Due to its functionality, a pixel is one of the essential tools for a webmaster when working with FB. Therefore, anyone who wants good results for their advertising campaigns should master it!
Want to start with nutra? Have questions about the case-study?
All the nutra is discussed now 24/7 in the telegram chat Nutra Affiliate Community
Quick help for beginners
Sweet cases for motivation
Exclusive bonuses from partners $$$$
Intelligent moderators and all support for affiliate network in one place